How Do You Fix Internal Threads?
Internal threads, whether in nuts, bolts, or other components, can become damaged over time due to wear, corrosion, or improper handling. Repairing these damaged threads is crucial to restore functionality and ensure proper assembly and fastening. Fortunately, there are several methods available for fixing internal threads, ranging from simple manual techniques to more advanced repair kits. In this guide, we will explore common methods for repairing internal threads, including thread chasing, thread inserts, and tapping. By understanding these techniques, you can effectively repair damaged internal threads and avoid the need for costly replacements.
I. Thread Chasing:
Thread chasing is a manual method used to repair minor damage or debris in internal threads. It involves using a thread chaser or tap to clean the existing threads and restore their original shape. Here's a step-by-step process for thread chasing:
Preparation: Ensure that the component with the damaged internal threads is securely held in place, such as using a vice or clamp. This ensures stability during the thread chasing process.
Choose the Right Tool: Select a thread chaser or tap that matches the original thread size and pitch. It should have the same thread profile to avoid further damage or misalignment.
Lubrication: Apply a suitable cutting or tapping lubricant to the damaged threads. This lubrication helps reduce friction and facilitates smoother cutting or reformation of the threads.
Chasing the Threads: Gently insert the thread chaser or tap into the damaged internal threads and turn it clockwise. Apply consistent and even pressure, allowing the cutting edges of the tool to engage with the damaged threads. Continue turning until the tool reaches the full depth of the thread.
Cleaning and Inspection: Once the thread chasing process is complete, remove the tool and clean any debris or chips. Inspect the repaired threads for any remaining damage or misalignment.
II. Thread Inserts:
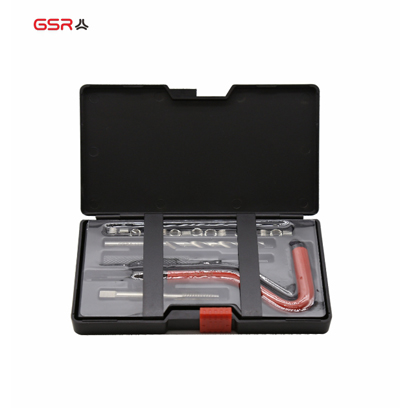
Thread inserts, also known as helical inserts or thread repair inserts, are an effective method for repairing severely damaged or stripped internal threads. These inserts provide a new, stronger thread that can withstand repeated use. Here's an overview of the process:
Insert Selection: Choose the appropriate thread insert based on the size and pitch of the damaged threads. Thread inserts are available in various materials, such as stainless steel or brass, and come in different styles, including self-tapping or solid inserts.
Preparation: Secure the component with the damaged threads in a stable position. If necessary, use a drill press or tapping guide to ensure accurate alignment during the installation process.
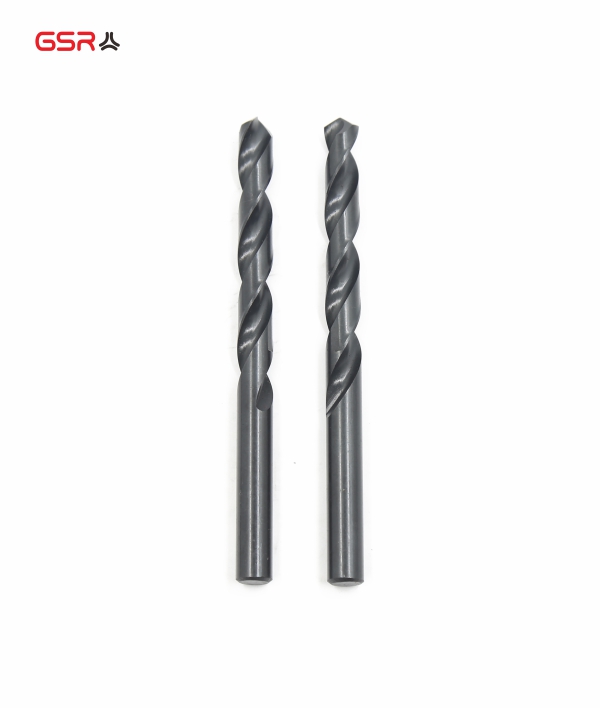
Drilling: Select the appropriate drill bit size for the thread insert and carefully drill out the damaged threads. The hole diameter should match the recommended size for the specific insert being used.
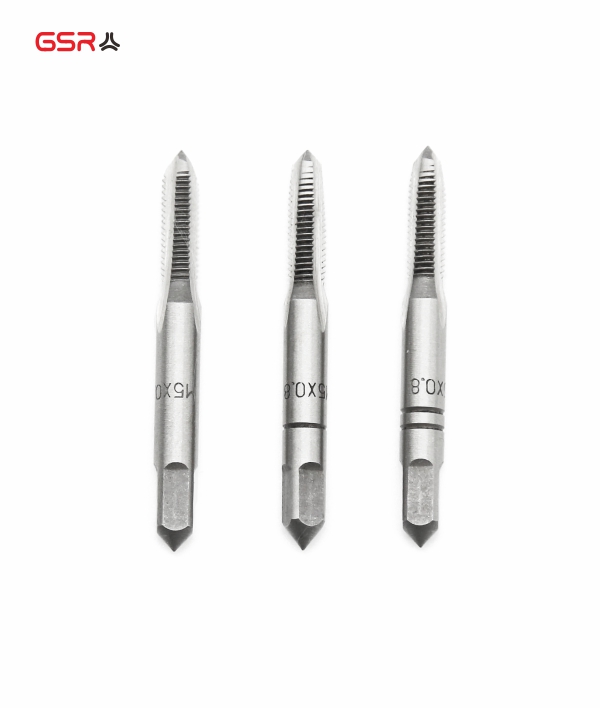
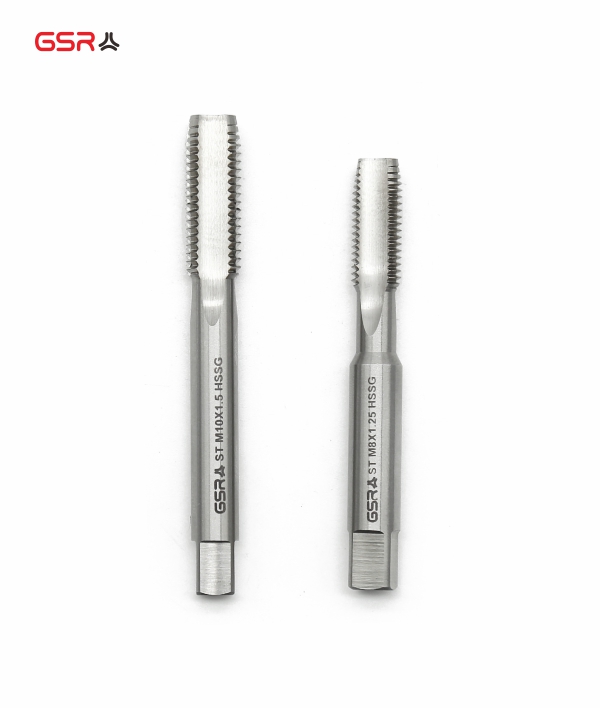
Tapping: Use a tap to create new threads inside the drilled hole. The tap should match the thread size and pitch of the insert being used. Ensure that the tap is aligned properly to maintain thread integrity.
Insert Installation: Insert the thread insert into the tapped hole, ensuring it is fully seated and aligned correctly. Depending on the type of insert, installation may involve using a special installation tool or simply threading the insert into place.
Insertion and Break-Off: For certain thread inserts, such as self-tapping inserts, follow the manufacturer's instructions for installation. This may involve driving the insert into the hole until it reaches a specific depth and then breaking off the tang or installation tool.
Verification and Finishing: Once the thread insert is in place, check the repaired threads for proper alignment, fit, and functionality. If necessary, clean any debris or chips from the repaired threads. The component is now ready for use.
III. Tapping:
Tapping is another method used to repair internal threads when the damage is minimal or restricted to a small portion of the thread. It involves cutting new threads using a tap, which matches the original thread size and pitch. Here's a general procedure for tapping:
Preparation: Secure the component with the damaged threads in a stable position, ensuring it does not move during the tapping process.
Hole Preparation: If necessary, drill out the damaged portion of the internal thread to remove any debris or contaminants. Ensure that the drilled hole matches the recommended size for the tap being used.
Lubrication: Apply a suitable cutting or tapping lubricant to the damaged threads and tap. This lubrication helps reduce friction, extends tool life, and promotes smoother cutting.
Tapping: Insert the tap into the drilled hole and start turning it clockwise. Apply steady and even pressure, allowing the cutting edges of the tap to engage with the material and create new threads. Ensure that the tap remains aligned with the original thread path.
Reverse Tapping: Occasionally reverse the tap's direction while cutting to break and remove chips or debris. This helps maintain the integrity of the new threads.
Inspection and Cleaning: Once tapping is complete, remove the tap and inspect the repaired threads. Use a suitable tool or brush to clean any debris or chips from the newly cut threads.
Conclusion:
Repairing damaged internal threads is essential to ensure proper assembly and fastening. By utilizing methods such as thread chasing, thread inserts, or tapping, you can effectively restore damaged threads and avoid the need for costly replacements. The choice of repair method depends on the extent of the damage and the desired thread integrity. It is important to carefully follow the instructions for each method and select the appropriate tools and materials. With proper repair techniques, you can restore the functionality of components and ensure reliable and secure connections.


