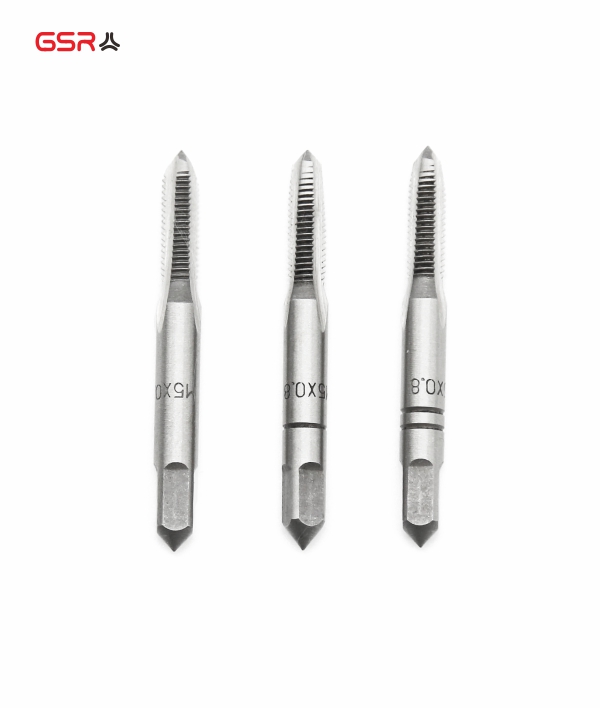
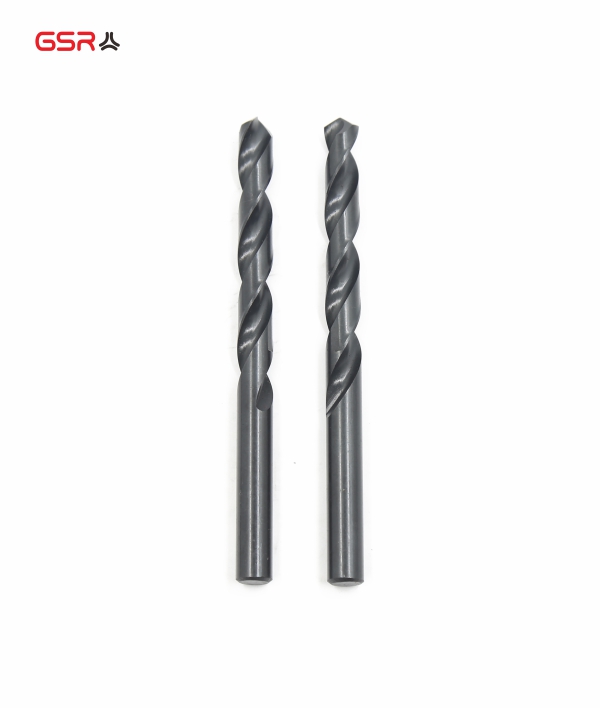
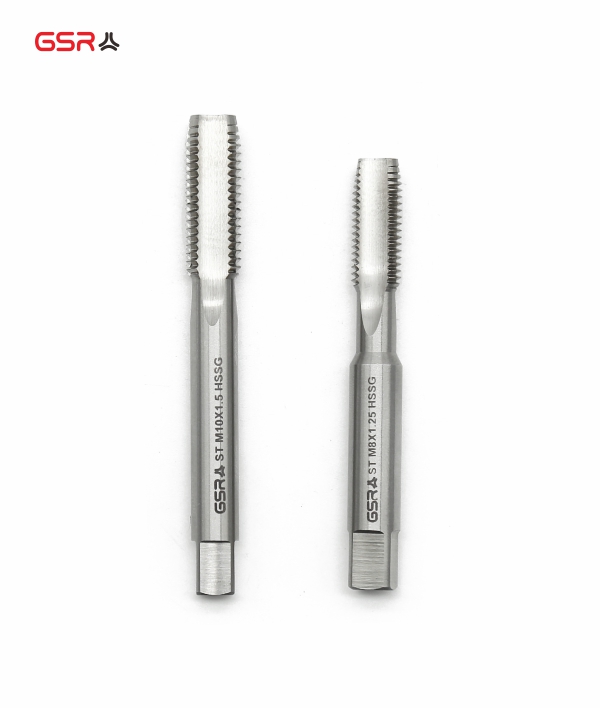
Useful Tips for Cutting Threads on A Lathe
Screws and threads hold millions of things together. There are almost as many types and forms of threads as there are products that use threaded fasteners and connections. When you're done cutting, hopefully you have two parts that fit together and have the precision and smoothness you don't get with ordinary hardware-grade fasteners. GSR specializes in cutting threads on a lathe and has learned a few tricks over the years. Now let us see how to cut threads on a lathe.
1, Thread Tool Alignment
▪ Aligning the threaded tool to the new face or chuck side. The small arrow-shaped alignment tool you see is painful and only works for measuring hand-ground tool bits.
▪ If you do a lot of internal thread cutting on a manual lathe, invest in tools with insertable inserts. The inserts are precision ground and easily replaceable. One insert can cut dozens of pitches.
▪ Use compound feed methods for threading on the lathe. By using what is called a "modified backface feed" and changing that angle, you can help alleviate threading problems in difficult-to-cut materials.
Another advantage of threading with this compound is that you don't have to keep track of the dial position. The main disadvantage is that your Z-axis position will change as you feed. This is not usually a problem with external threads, but can occur with internal threads cutting where the end rests against the shoulder of the table.
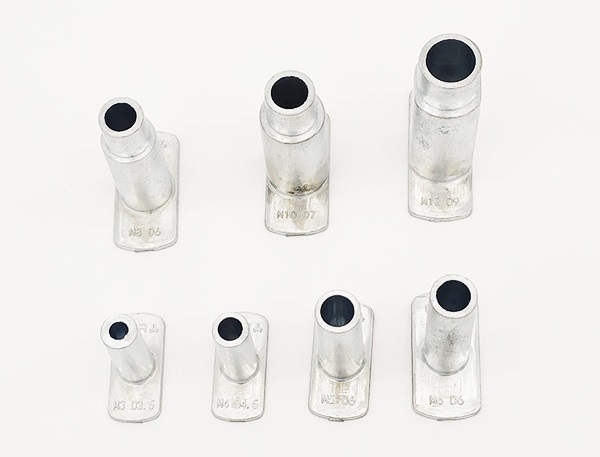
2, Keep a complete set of nuts
▪ When you have the option, fine threads are easier to cut and require fewer tool passes than coarse threads. Shallow depths on difficult-to-cut materials may save you bacon.
▪ For quick and easy everyday thread gauging, I keep a complete set of nuts on rings in my toolbox for mounting threads. One ring holds the coarse threads and the other ring holds the fine threads. When you thread, be sure to run the nuts over the entire length of the thread. When left to their own devices, machinists tend to cut the threads tighter than necessary.
▪ The mating material in a threaded connection is important. If you must use the same material for both cutting internal and external threads, do yourself a favor and apply some thread lubricant or anti-seize to them before putting them together.
3. Straightening external threads
▪ If you happen to wedge external and internal cutting threads together in an intimate embrace, an easy trick to separate them is to use a propane torch to quickly heat the female threads to about 100° F. A quick injection of penetrating lubricant prior to twisting may save work. ,
▪ When measuring threads, it is easy and fast to use a special thread micrometer on the machine. However, for maximum accuracy, use a three-wire thread measurement method.
▪ A piece of modeling clay or window glass putty can help hold the pesky thread measurement line in place. Better yet, buy a set of plastic holders that fit the micrometer spindle.
▪ Thread files do work. They are great for straightening out the nasty half thread fade at the beginning and end of the male thread.
Conclusion
The internal cutting threads should have a countersunk hole at the end.
If there are no specifications, low height threads are preferable to high threads.
It is more economical to use standard thread sizes and forms.
The starting end of the thread should have a flat surface which must be in line with the central axis of the thread.
Tubular parts should have an increased wall thickness to withstand the stress of forming or cutting.
The external threaded end of the part should include a chamfer.
Please contact us to get more about internal thread cutting and external thread cutting, we also have thread repairing tools for sale.
Next: What Is A STI Tap?


