Some Hints for You to Fix a Damaged Thread
You thought you could just tighten it a little more ...... Unfortunately, the screw is now stripped. What to do? You can't put a nut on the back because it wouldn't fit. Fear not, there is a solution to your problem. All that is needed to repair the damaged thread is patience and a professional tap and die holder.
Continue with the repair
Choosing to repair a damaged thread requires knowing exactly what thread you are using, whether it is a fine or coarse thread, and the size of the thread. You can use a variety of tools to determine the thread size. Unless your damaged part is easily portable and small enough to handle, a traditional thread gage guide won't be of much help to you. In most cases, you can use a nut or bolt to check the threads.
The gauge must be a perfect match to the pitch and spacing of the threads. If the threads do not match perfectly, it is an error.
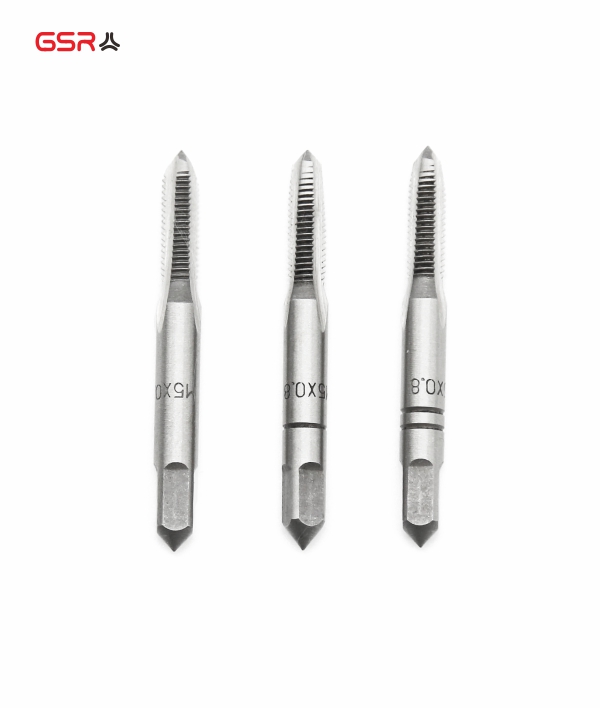
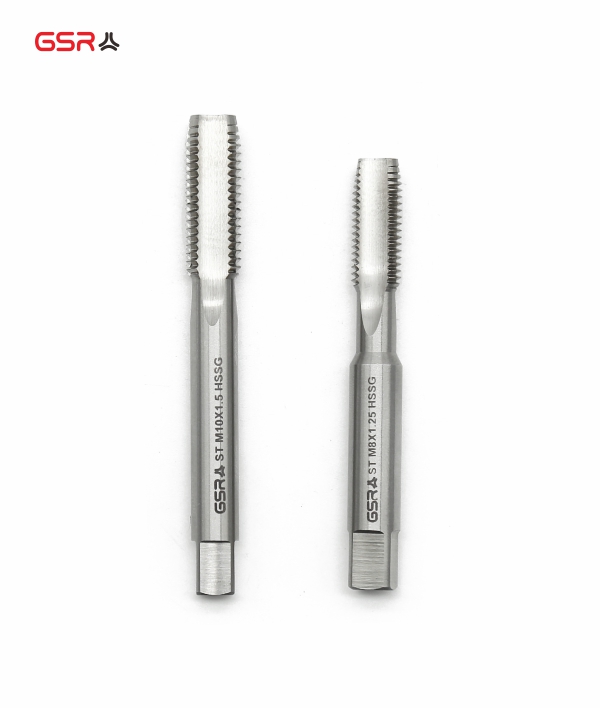
Using taps
Using the correct size thread, you have a choice of taps. There are several types of tap; tapered, plug and bottom. The tapered tap is the most common tap design. This is the style used to create new threaded holes. The first 8 to 10 cutting slots of the tap are not filled and they gradually build up to the full thread size. The taper is used to guide the tap in the hole and slowly cut the threads in fresh material. This type of cutting groove goes all the way to the bottom of the tap.
If you are repairing a damaged thread, any of these taps can usually be used, unless it is a blind hole in which you need to use a bottoming tap.
Another issue is lubrication. Never use a tap or die to dry, always spray parts and tools with oil or lubricant. Better still, use a cutting fluid, which is specifically designed for machining and thread cutting.
Thread cutting produces chips called "swarf", just like drilling. These chips tend to clog the flute. Every 3-4 turns of the tap, stop, reverse half a turn and continue cutting. This breaks up the swarf and helps your tap to cut cleanly. If you are working on a deep hole, you will need to pull the tap out several times and clean it out.
Insert the tapered tap and slowly screw it into the hole. The tapered recess helps to ensure that the tap is centred and vertical. We pass the tap all the way through the part so that the full recess of the tap touches the bottom thread. The swarf in the tap unloading groove is called swarf and should be removed before the tap is put away. Once the threads have been cut, you will need to clean the hole. Spray with compressed air, brake cleaner or lubricant to remove any swarf. You can visit GSRTHREADS to see more.
If you follow the tips in this guide, you will be able to repair any damaged threads you may encounter on your vehicle. To get more details, you can contact our experts or call +86 571 8268 8363 directly. Remember - critical and highly loaded parts with damaged threads should be replaced or professionally repaired.


