How to Repair a Damaged Thread in 4 Steps?
There are various reasons why threads can be damaged, such as corrosion, wear or excessive tightening torque. In this article, Threading Tool Manufacturer will explain how to repair damaged threads.
Before you can start repairing damaged threads, you will need the following tools:
Drill
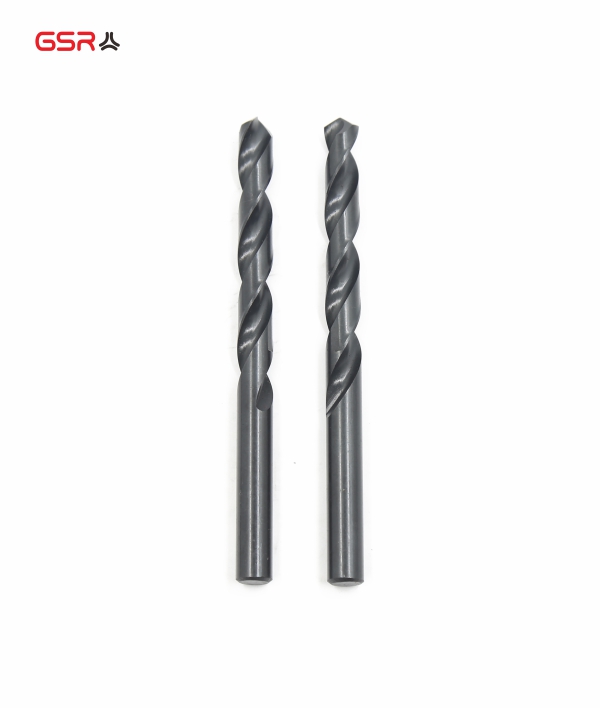
twist drill
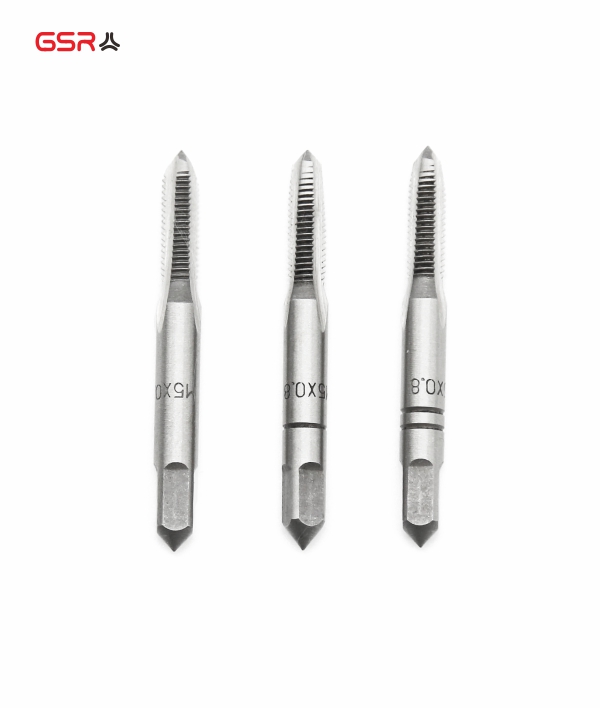
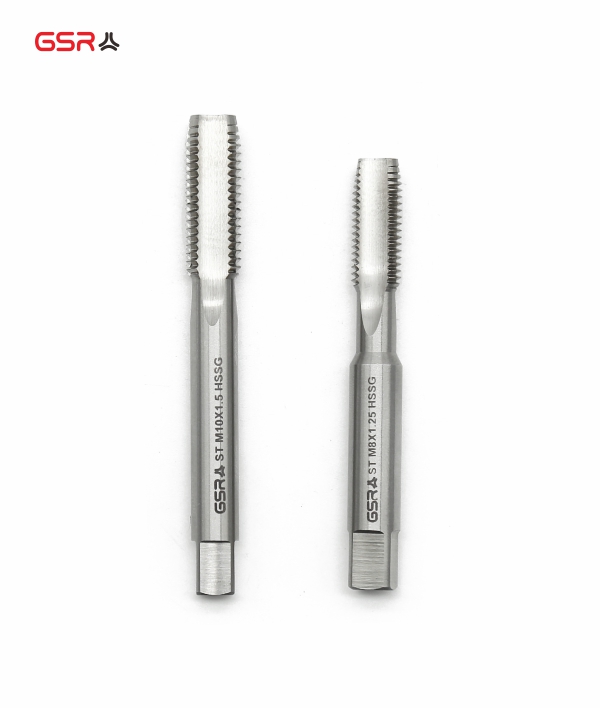
Single-edged taps
Tap wrench
Assembly tools
Threaded inserts
Needle breakers
Make sure beforehand that the single-edged tap and the threaded insert are matched, have the correct dimensions and the same pitch. The thread is free, so there are no broken screws

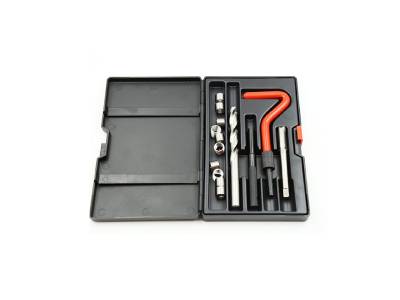
Thread Repair Set
Thread repair process:
1. Drill the threads
First, you use a twist drill to drill out the damaged threads. The twist drill must match the size of the thread diameter. For a new metric thread, e.g. M8, you need a twist drill with a core hole of 6.8 mm.
2. Cutting threads
Now you are ready to cut the new threads with a Machine Taps. To do this, place the machine tap on a tap wrench and cut by hand in the drilled hole. If you have cutting oil on hand, you can use it very well here. This new thread will be used in the next step to fit the threaded insert.
3. Insert the threaded insert
Place the threaded insert on the fitting tool or directly into the hole. The pin must sit in the recess opening. Turn the threaded insert in the direction of the thread under slight pressure.
Note: Do not turn against the direction of rotation or the pin may break.
4. Breaking the pin
Use the pin breaker at the bottom of the thread to break the pin of the threaded insert. You are done. The new thread is now ready for use.
Thread Repair Tools
We have Thread Repair Set in our product range. So you have all the tools you need to easily and quickly make repairs to damaged and worn threads.
Previous: Thread Cutting on Lathes


